The following is the process and my thoughts on the matter.
Pie Crust: (enough for a dble crust)
2 1/2 cups flour
2 tbsp. sugar
1/4 tsp. salt
1/2 cup cold butter, cubed
5 tbsp. cold vegetable shortening
Ice water (just enough to bind, this may or may not be necessary)
Filling:
3/4 cup sugar
1/4 cup all-purpose flour
3/4 tsp. cinnamon
1/2 tsp. cornstarch
Pinch of salt
7-8 medium apples
2 tbsp. butter (to dot on top)
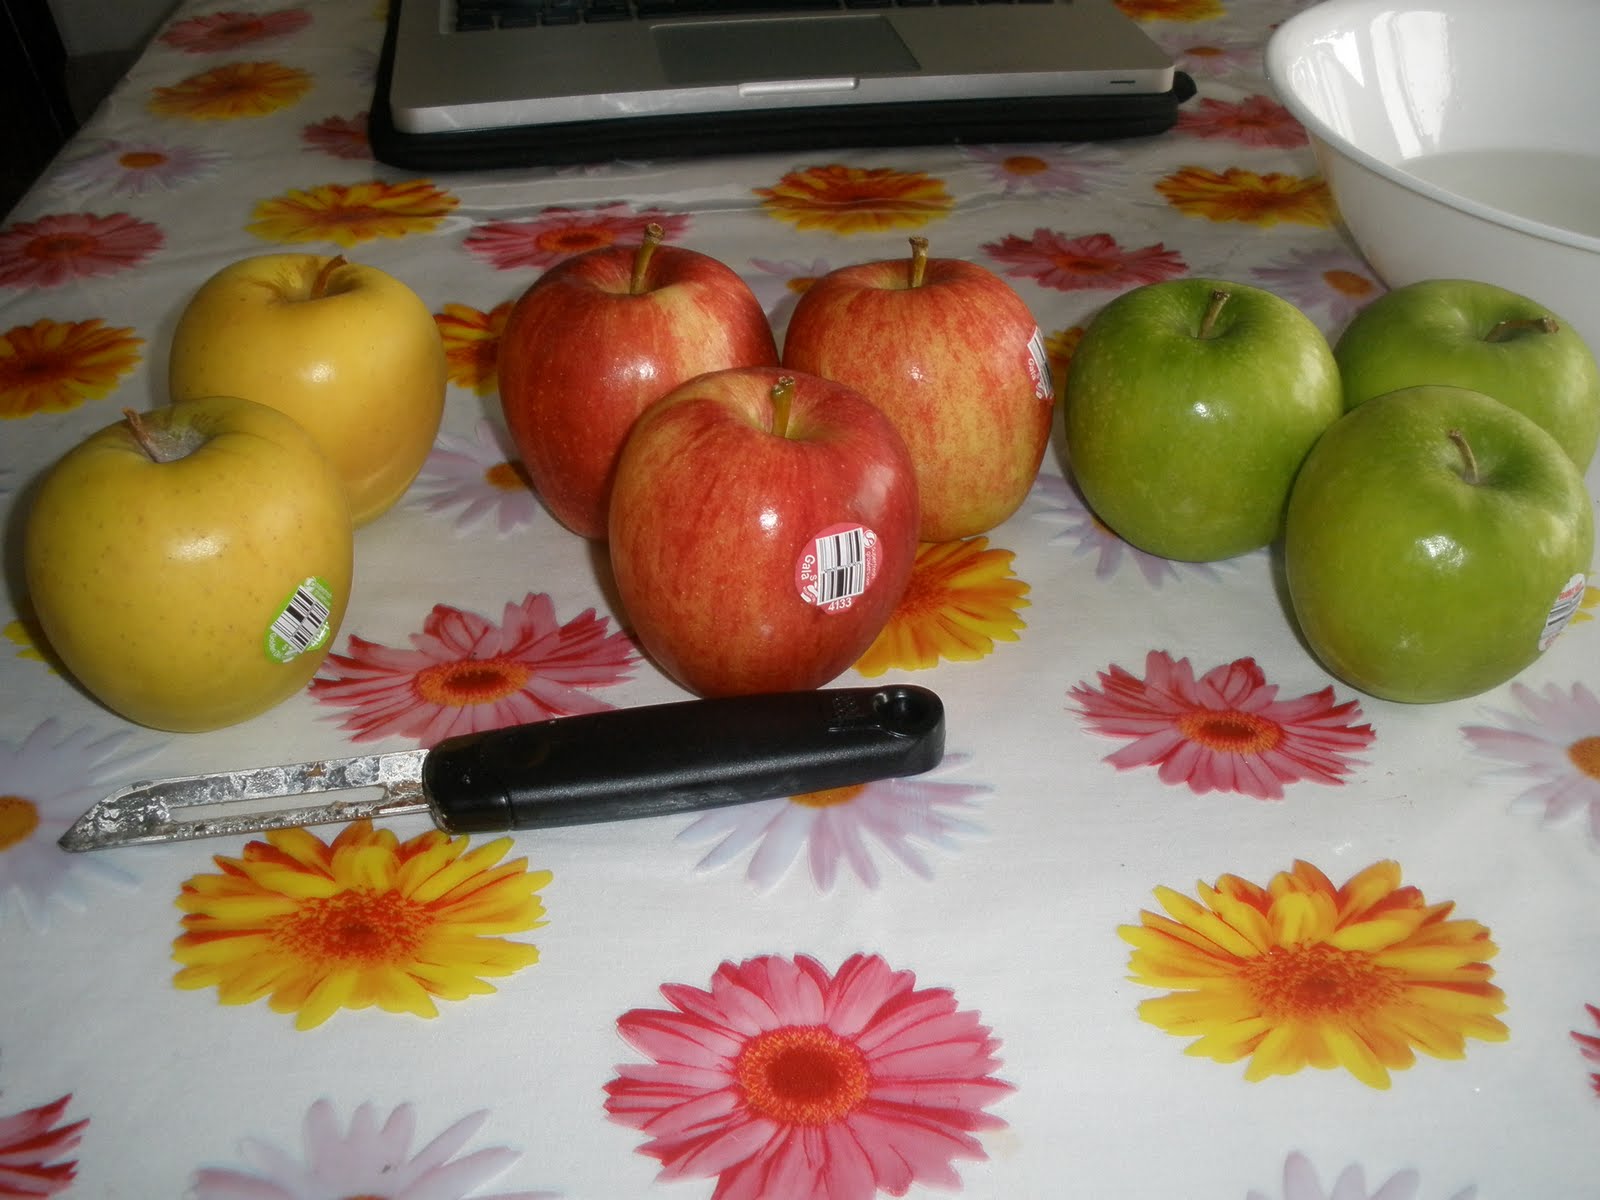
Does anyone else love apples as much as I do? I love almost any apple based dessert and when it comes to snacking, an apple is almost always what I reach for first. Anyway, I was doing some research about picking apples for pie and came across a few useful bits of information. For example, Granny Smiths are one of the most commonly used baking apples because they tend to hold their shape after cooking. Also, on every site I went to, someone suggested that a combination of apples was the way to go, though the combinations varied.
After much debate and research on seasonal availability, these are the lovelies that I chose for the pie filling: Granny Smiths for tartness and texture, Golden Delicious for moisture and a difference in textures (they are much softer) and Gala for the intensity of its apple flavor.
Even though the recipe didn't say to, as I went about peeling and slicing, the apples went into a bowl of water w/ lemon juice. I did this partially to keep them from browning, but mostly because I like the zing of lemony goodness in baked goods.
I pretty much followed simple steps with this one. First, mix all dry ingredients in a large bowl. Next, add apples (I dried them on a tea towel first to nix the excess moisture). Finally, toss the apples to coat evenly.


Okay, I'm not going to lie...I used a store bought crust (Pillsbury I think?). I only did this because I don't have a rolling pin (something that will delay progress on Goal #3, I will rectify this soon) handy. That being said, I have successfully used the crust recipe above before, so it is the one that would have been used if I had the right tools. So if you decide to do this, just follow SOP for Crust Making (1. Mix Dry, 2. Work in Butter and Shortening for a 'sand' consistency, 3. Add water if needed), but DO NOT forget to rest the dough if you're not using a stand-up mixer
Anyway, to make-up for using the cheater-crust, I went with a lattice top, not something I've done before...but I think I turned out well

After gently pressing the bottom crust into the pan, I spooned in the apple filling. I did this because the dry ingredients drew some of the moisture out of the apple slices and I didn't want all of the liquid to soak straight into the bottom crust. Also, I made sure to pile the apple higher in the middle than on the edges, just to get that lovely domed effect (that and everyone on food network says to). Then I dotted the top with butter and poured the aforementioned liquid over the apples. Finally, I flipped the lattice onto the pie, crimped the edges and gave the top a little coat of egg wash and a sprinkling of sugar.


After covering the edges with foil, I threw the pie in a 425F oven. After 35min, I pulled off the foil on the edges, added a small square to the top (it was browning too quickly) and threw it in for another 20min. I had to rotate the pie when during the second stage, but it really depends on how picky your oven is.
Here is the finished result:

It's not too shabby if I do say so myself :)
I think I'd cover the whole crust with foil for the first half hour or so, then just continue to bake until golden brown and bubbly. The top of my pie got a little burnt.
Also I wouldn't pour the liquid over the apples without reducing it a bit first. When I cut into the pie after it cooled, the sauce was more liquid that yummy apple goodness. I might also add a little more cornstarch to the mix to fix the soupy-ness.
Overall, I think it tastes great. It wasn't too sweet or too tart. The combination of firm and soft apples makes for a really nice texture.
Summer Goals (as of 07/09)
1.
2. Build up biking endurance so 8mi doesn't seem so bad
3. Make Marinara sauce and Ravioli from Scratch
4.
5. Paint Bedroom
6. Disneyland!!!!
Note: All Summer Goal Pictures will be added to Facebook as well. There are just too many to post all of them here
No comments:
Post a Comment